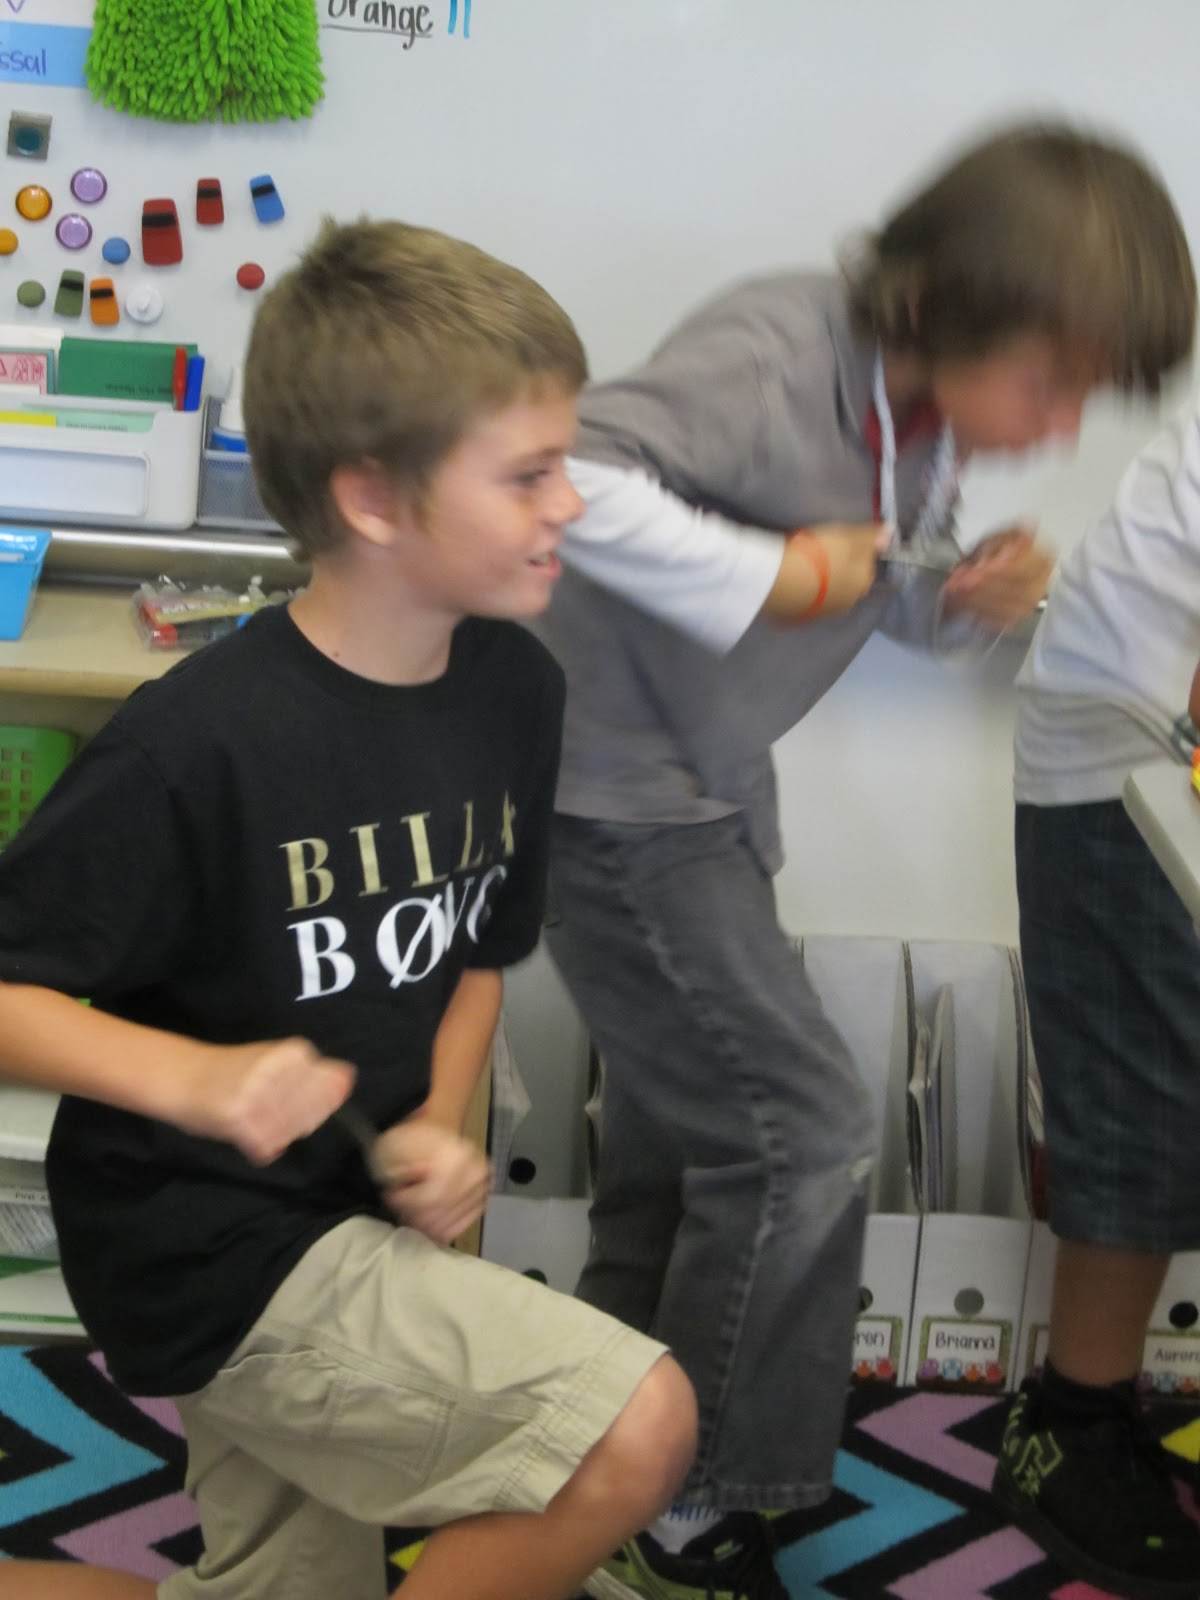
I can't believe it is already November. This year is flying by. Our first trimester ends at the end of the month and then it's conferences. I feel a little stressed that I won't get everything done that I need to accomplish before then, but all I can do is keep plugging away. Here's what's up with me right now.
Saturday, November 3, 2012
Spooky Science
For the past 6 years I have been doing Spooky Science on Halloween (or the closest day to it if it happens to fall on a weekend). It is a favorite among kids and parents alike. I started out with a kit I purchased from Steve Spangler Science. Each year I replace items that have run low or add things to it that I find.
When the students arrive in the room I have my science lab set up in the front of the room. A black, plastic cauldron is "smoking" in the front of the room and they are hooked. I ask them to predict what is making the cauldron smoke. I get all sorts of responses... a candle, a fog machine, dry ice...
From there, I show them the small glass bowl in the cauldron with water and dry ice in it. I hand out a fact sheet about dry ice and we learn all about dry ice, its properties and how it changes from one state to another. We learn about sublimation (how it "melts" from a solid to a gas) and how it's made.
Next, we move into dry ice experiments and demonstrations. I have kids come up and warm up metal spoons as much as they can. As a class we talk about friction and rub our hands together to create heat. Once our spoons are warmed up, we place a small piece of dry ice in the spoon to create Singing Spoons.
Since I teach third grade, many of the activities I do are demonstrations, but I try to have the kids participate and experience as much of the fun as possible. My next demonstration is showing how the gas being released can create bubbles. I show this in several ways. The first is with a beaker full of warm water, dry ice and bubble solution. The bubbles erupt from the beaker. Kids love to come up and get a handful of the bubbles to hold and watch the gas escape when they pop.
The second way that I show how the gas is released is by making BOO BUBBLES. I use a special container from Steve Spangler Science. I blow bubbles using the gas and bubble solution. If the students wear gloves or put the bubble on fabric (like their shirts) they won't pop. The oils from our skin are not a happy environment for the bubble, so putting them into students' hands won't work. The kids love getting their own personal BOO BUBBLE to examine.
Another favorite demonstration is when I make a crystal ball using a large, smooth-rimmed bowl, warm water, dry ice and a towel soaked in bubble solution. By creating a bubble across the top of the bowl, the gas releases and fills it pushing it up to look like a crystal ball. It is very dramatic and fun! Unfortunately, we didn't get a picture of this year's crystal ball.
Lastly, we made Atomic Slime and talked about how molecules look in a liquid or gas state and how they link together when it becomes a solid. We mixed an atomic slime mixture with cross linker solution and shook. The liquid turned into a semi-solid solution. The kids got to see how it glowed due to phosphoresence with a black light. They got to take a sample of the slime home with them.
The day was a blast. The kids learned a lot of science and had a great time. I did, too!
When the students arrive in the room I have my science lab set up in the front of the room. A black, plastic cauldron is "smoking" in the front of the room and they are hooked. I ask them to predict what is making the cauldron smoke. I get all sorts of responses... a candle, a fog machine, dry ice...
From there, I show them the small glass bowl in the cauldron with water and dry ice in it. I hand out a fact sheet about dry ice and we learn all about dry ice, its properties and how it changes from one state to another. We learn about sublimation (how it "melts" from a solid to a gas) and how it's made.
Next, we move into dry ice experiments and demonstrations. I have kids come up and warm up metal spoons as much as they can. As a class we talk about friction and rub our hands together to create heat. Once our spoons are warmed up, we place a small piece of dry ice in the spoon to create Singing Spoons.
Since I teach third grade, many of the activities I do are demonstrations, but I try to have the kids participate and experience as much of the fun as possible. My next demonstration is showing how the gas being released can create bubbles. I show this in several ways. The first is with a beaker full of warm water, dry ice and bubble solution. The bubbles erupt from the beaker. Kids love to come up and get a handful of the bubbles to hold and watch the gas escape when they pop.
The second way that I show how the gas is released is by making BOO BUBBLES. I use a special container from Steve Spangler Science. I blow bubbles using the gas and bubble solution. If the students wear gloves or put the bubble on fabric (like their shirts) they won't pop. The oils from our skin are not a happy environment for the bubble, so putting them into students' hands won't work. The kids love getting their own personal BOO BUBBLE to examine.
Another favorite demonstration is when I make a crystal ball using a large, smooth-rimmed bowl, warm water, dry ice and a towel soaked in bubble solution. By creating a bubble across the top of the bowl, the gas releases and fills it pushing it up to look like a crystal ball. It is very dramatic and fun! Unfortunately, we didn't get a picture of this year's crystal ball.
Lastly, we made Atomic Slime and talked about how molecules look in a liquid or gas state and how they link together when it becomes a solid. We mixed an atomic slime mixture with cross linker solution and shook. The liquid turned into a semi-solid solution. The kids got to see how it glowed due to phosphoresence with a black light. They got to take a sample of the slime home with them.
The day was a blast. The kids learned a lot of science and had a great time. I did, too!
Thursday, October 25, 2012
I'm a Believer
I'm not a big fan of change. Some might even call me a
Then came the gradebook function. It was an optional rollout. But, for those on the Tech Committee, optional meant required. I wasn't a fan. It wasn't what I was used to, but I soldiered on. I have to admit though that I was keeping my grades in two places... on the new "optional" online gradebook and my trusty old computer-based gradebook. Hedging my bets as some might say.
Now we are being introduced to phase three... our online report cards. They look just like our old report cards only we can do them through Illuminate and our gradebook is supposed to automatically link up and populate the report card fields. I was a skeptic, but after today... I am a believer.
I have completely changed my tune. I am an Illuminate gradebook and report card convert. All it took was my trusty trainer Ben to show me the light. He helped me link my standards and assignments to the right fields on my report card and with the touch of a button, voila, my report card was almost done. What a time saver!
So, when your District asks you to have faith and try something new... remember me and that sometimes, it does work out the way they say it will.
Monday, October 22, 2012
Red Ribbon Week
Today we had to create a slogan and poster for Red Ribbon Week. My little owlets did a great job. Here is their submission.
Sunday, October 21, 2012
You Say It's Your Birthday...
My friend over at Ms. Fultz's Corner is turning 30 on Friday! She is giving all of us the presents. Go to her blog and enter to win some great prizes. Christi is the wonderful blogger who designed the OwlSeeYouInThirdGrade blog. She is super talented and a great help in the world of blogging. Help me wish her a happy birthday by visiting her site and entering!
HAPPY BIRTHDAY CHRISTI!
Teaching Subject and Predicate
Every year, teaching subject and predicate is challenging. Students choose every noun in the sentence as the subject and have difficulty with those predicates which contain helper verbs rather than action. This year, I got a crazy notion to go deeper into the standard and teach complete versus simple subjects and predicates. It is my hope that by teaching this, I will inspire my students to write more complex and complete sentences. I have found that the best way to learn this is through repetitive practice using student generated sentences. So, I set out to have my students make a subject/predicate pumpkin.
Prior to this activity, I had taught simple subject and predicate and created an anchor chart with the students. The students had practiced this skill in classwork and homework. Then we learned complete subject and predicate and practiced that, too. We added to our anchor chart to learn the difference.
Finally, as a culminating activity to this section of study, I gave the instructions for our sentence strip pumpkin Here are the instructions I gave the students:
We started writing on our sentence strips. After the student wrote a sentence on their strip that followed all of our requirements, they brought it to myself and my parent/student teaching helper to have it checked. If it was correct, they got a new sentence strip. We made a paper chain with the strips and put them on our board to make our pumpkin. Below the pumpkin you can see our anchor charts. The students were excited to write a lot of sentences to make the pumpkin bigger. They would have kept going, but I needed to call the lesson to a close for lunch. Students like to go to the pumpkin and point out one of their sentences in the chain.
It was a fun project that added some holiday flavor to our walls. So, for now anyway, we are moving on from subject and predicate... although I know we will be back!
Prior to this activity, I had taught simple subject and predicate and created an anchor chart with the students. The students had practiced this skill in classwork and homework. Then we learned complete subject and predicate and practiced that, too. We added to our anchor chart to learn the difference.
Finally, as a culminating activity to this section of study, I gave the instructions for our sentence strip pumpkin Here are the instructions I gave the students:
We started writing on our sentence strips. After the student wrote a sentence on their strip that followed all of our requirements, they brought it to myself and my parent/student teaching helper to have it checked. If it was correct, they got a new sentence strip. We made a paper chain with the strips and put them on our board to make our pumpkin. Below the pumpkin you can see our anchor charts. The students were excited to write a lot of sentences to make the pumpkin bigger. They would have kept going, but I needed to call the lesson to a close for lunch. Students like to go to the pumpkin and point out one of their sentences in the chain.
It was a fun project that added some holiday flavor to our walls. So, for now anyway, we are moving on from subject and predicate... although I know we will be back!
Tuesday, October 9, 2012
Donors Choose Rocks!
Such an exciting week! Last week I submitted a grant to Donors Choose. My project, "Lights, Camera, Stop-Motion: Student-Created Lego Movies" asked for iPod Touches for my class to make movies in class. To my surprise, Disney fully funded it in less than a week. My iPods arrived earlier this week. Donors Choose encouraged me to submit another project because Chevron was looking to fund projects for Orange County teachers. I asked if I could submit the same grant again (since I wanted more iPods for my project). They said I could. So, I did... and guess what... Chevron came through for me and fully funded three more iPods for my class tonight. I am now up to 5 iPods! I am overwhelmed with the generosity of these companies. My students are going to have such a great time making movies! I definitely encourage all of my teacher friends to submit projects to Donors Choose. It's easy and you might just get something great!
Subscribe to:
Posts (Atom)